


Sale

SALE
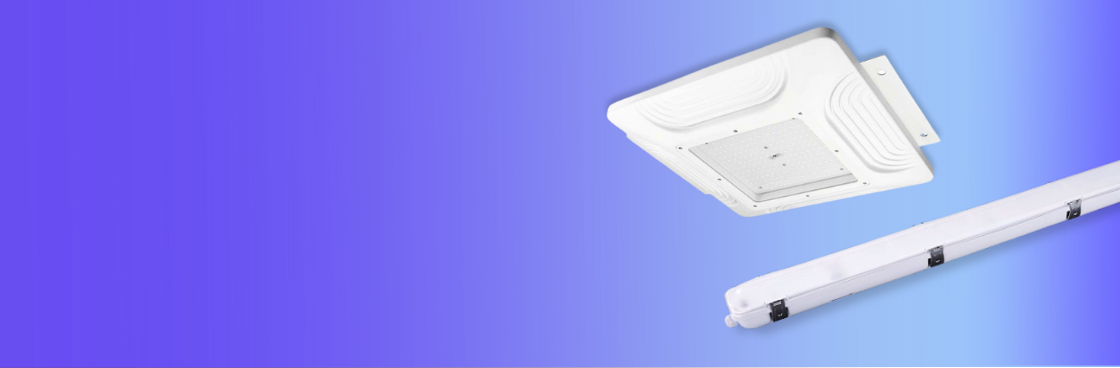
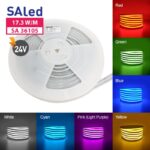
24V
SALE


82 in stock
| Weight | 250 g |
|---|---|
| Dimensions | 211 × 40 × 30 mm |
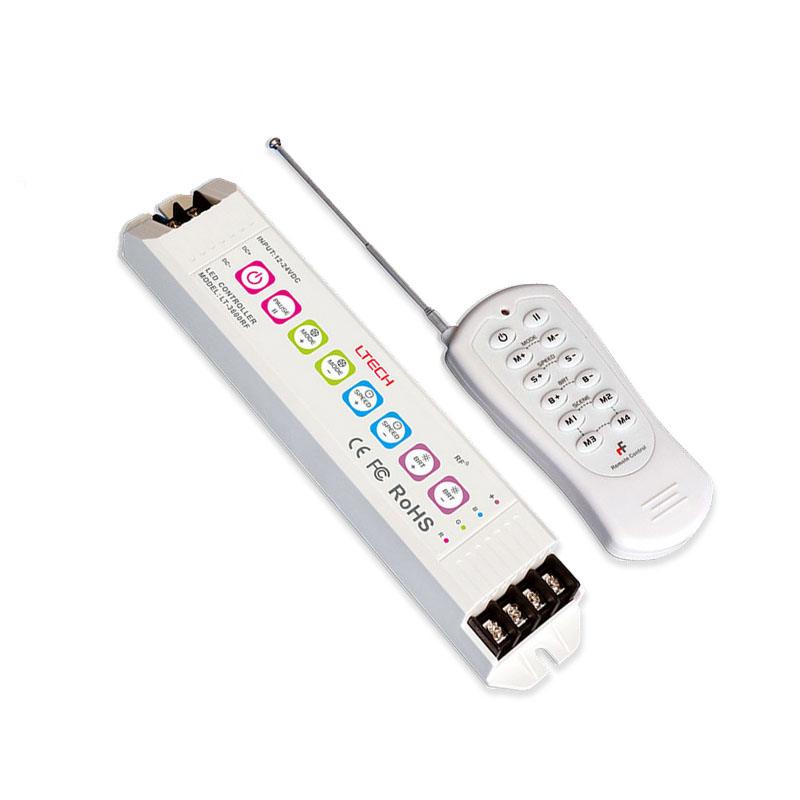
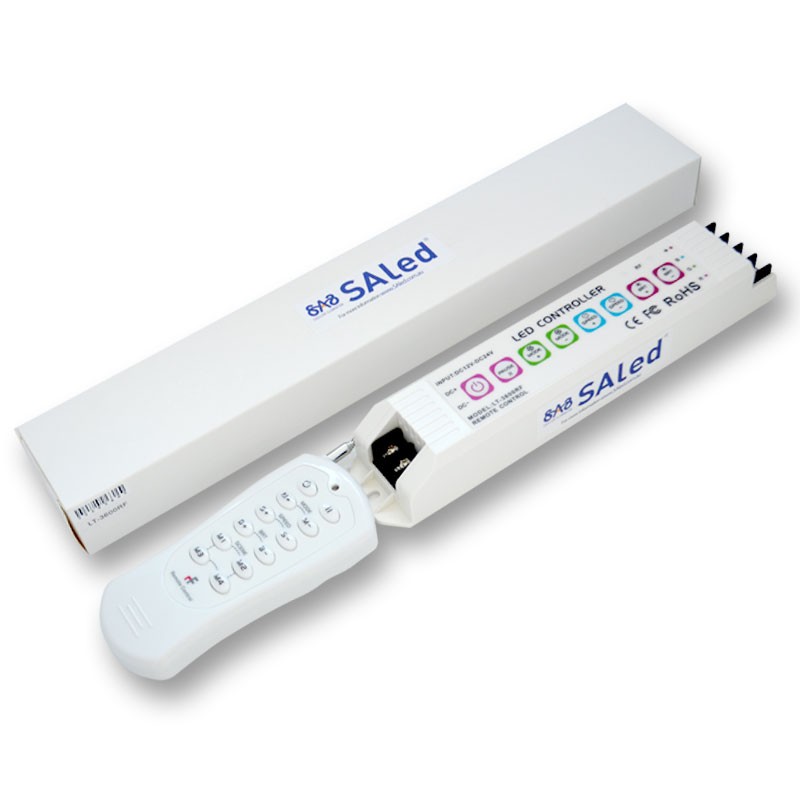
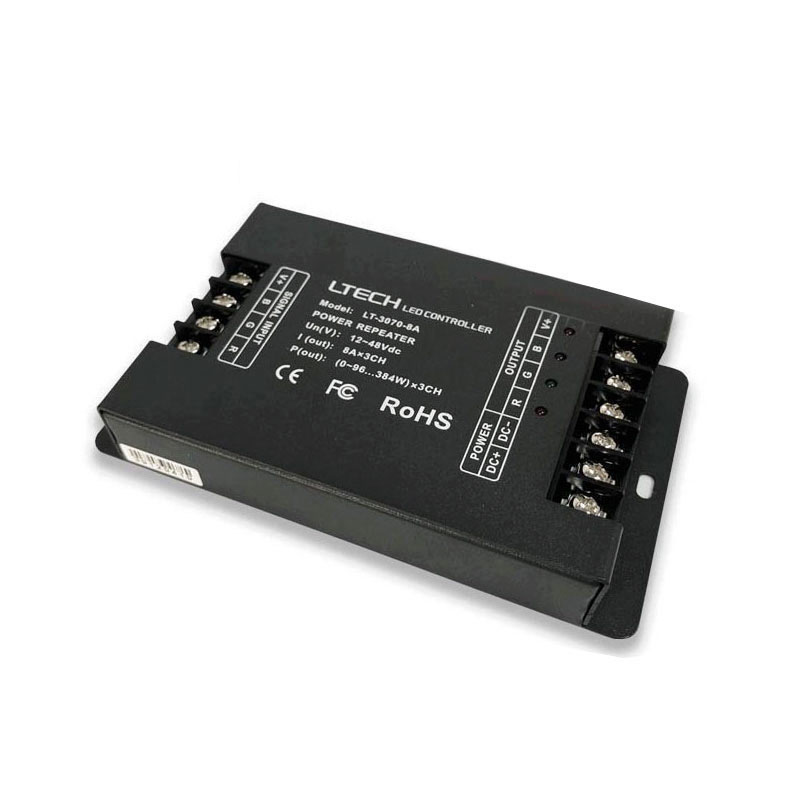
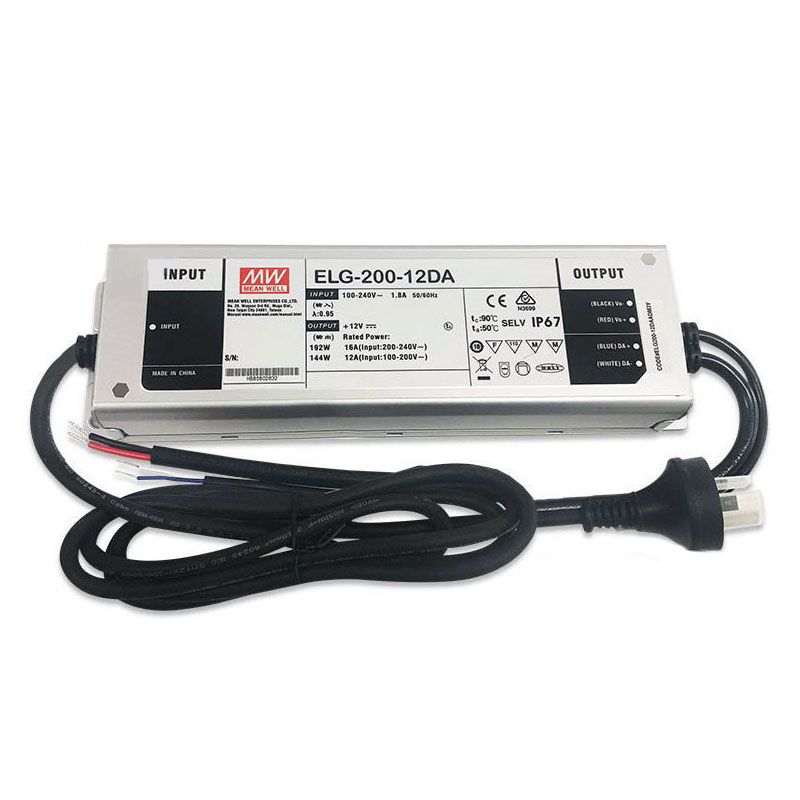
| BRAND |
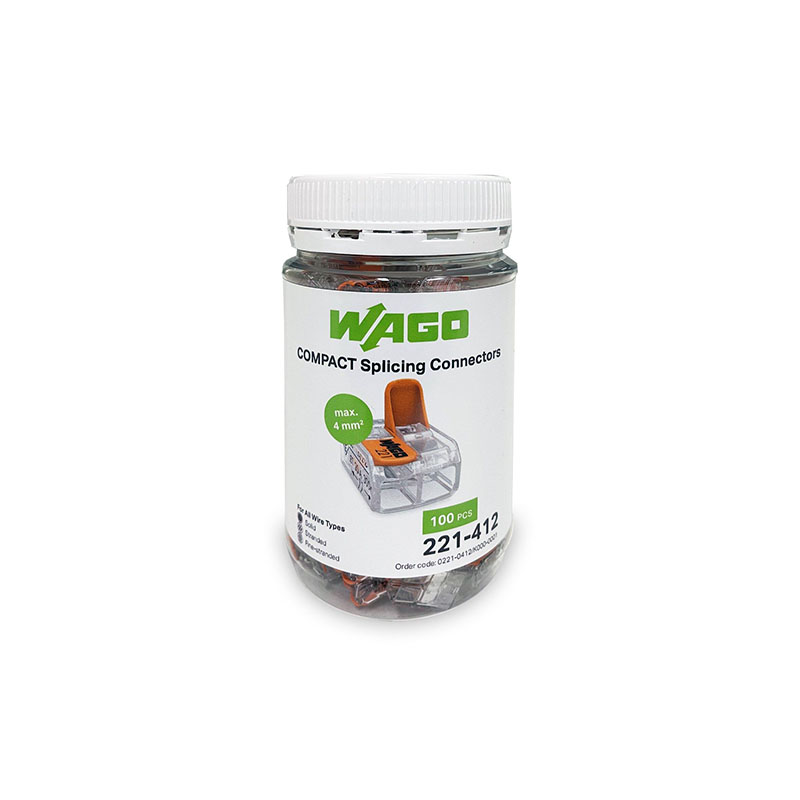
LTECH |
| INPUT VOLTAGE |
220 -240VAC |
| MAX CURRENT LOAD |
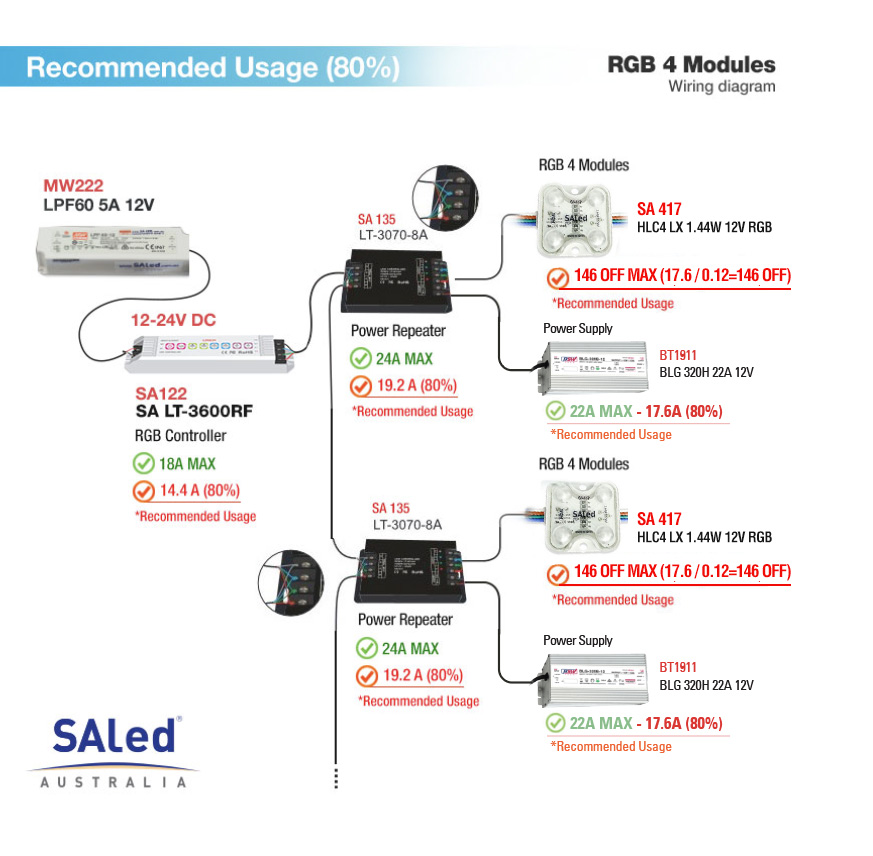
6A X 3CH, MAX 18A |
| MAX OUTPUT POWER |
216W(12V), 432W(24V) |
| GREY SCALE LEVELS |
4096 X 4096 X 4096 |
| RF REMOTE DISTANCE |
100M |
| RADIO FREQUENCY |
433.92MHz |
| WORKING TEMPERATURE |
-30 °C ~ 60 °C |
| REMOTE OUTPUT POWER |
8mW |
| WARRANTY |
5 YEAR |
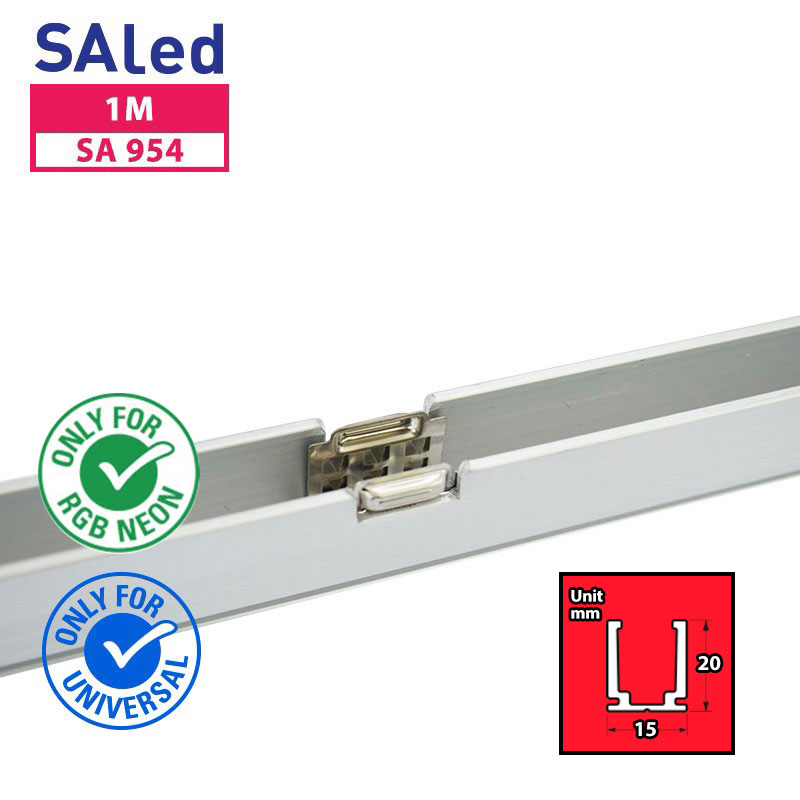
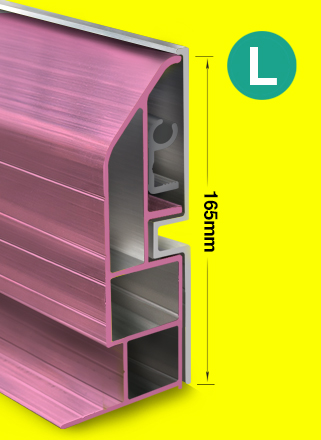
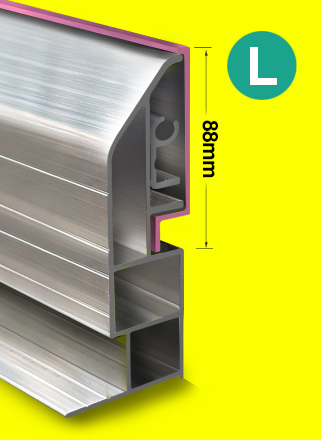
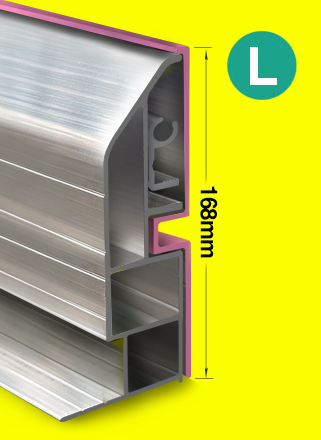
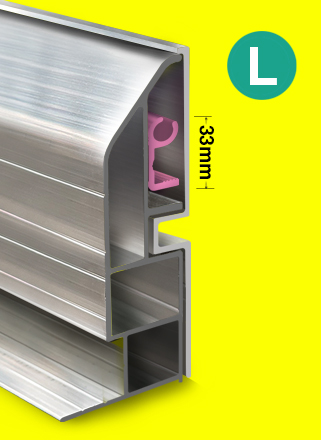
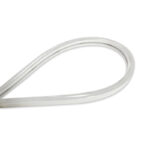
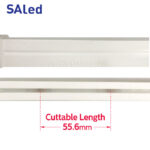
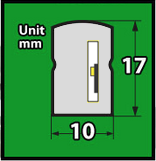
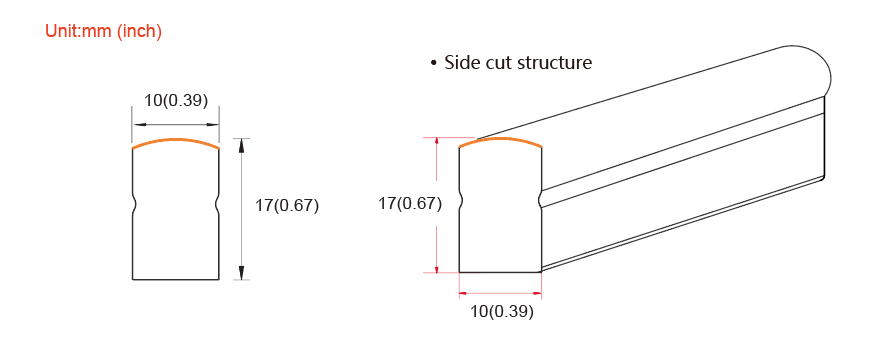
Dimension

 |
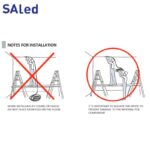
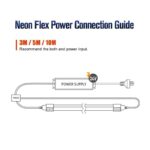
Special Note ROLL LENGTHS_Any claim for short supply will only be considered while |
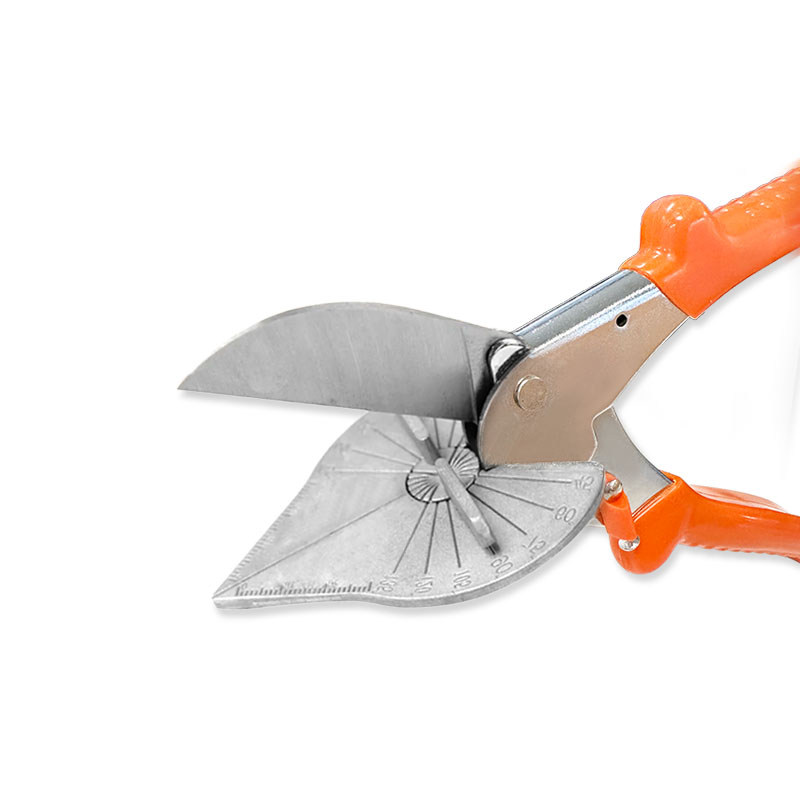
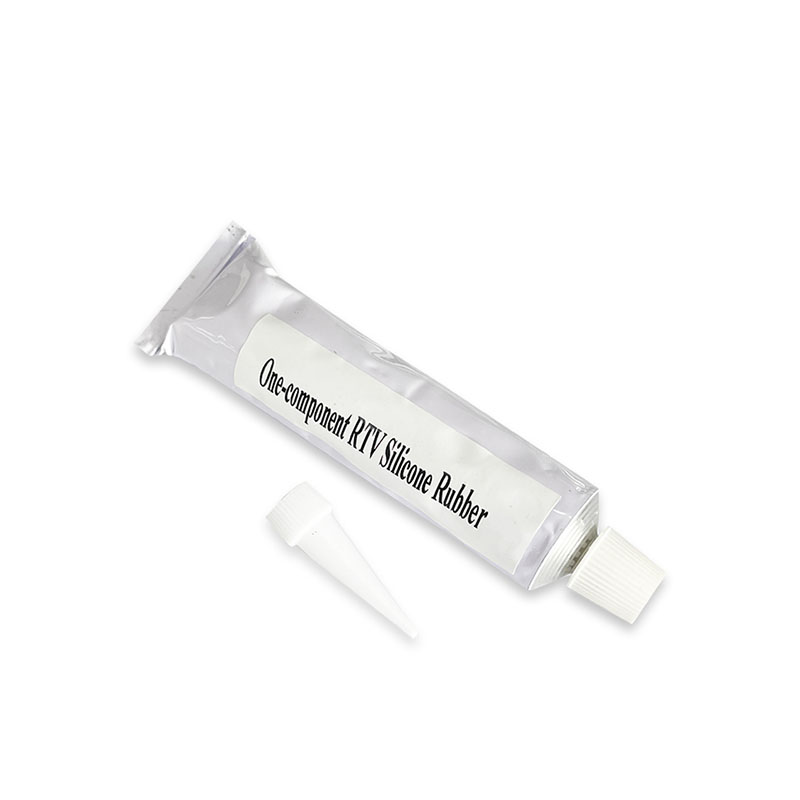
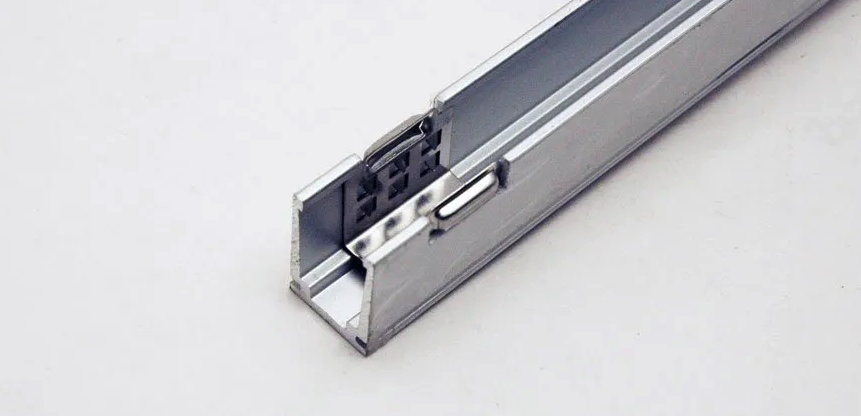
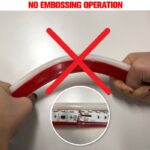
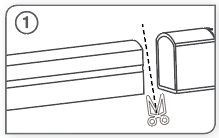
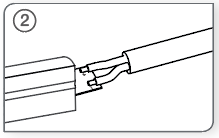
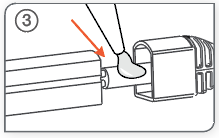
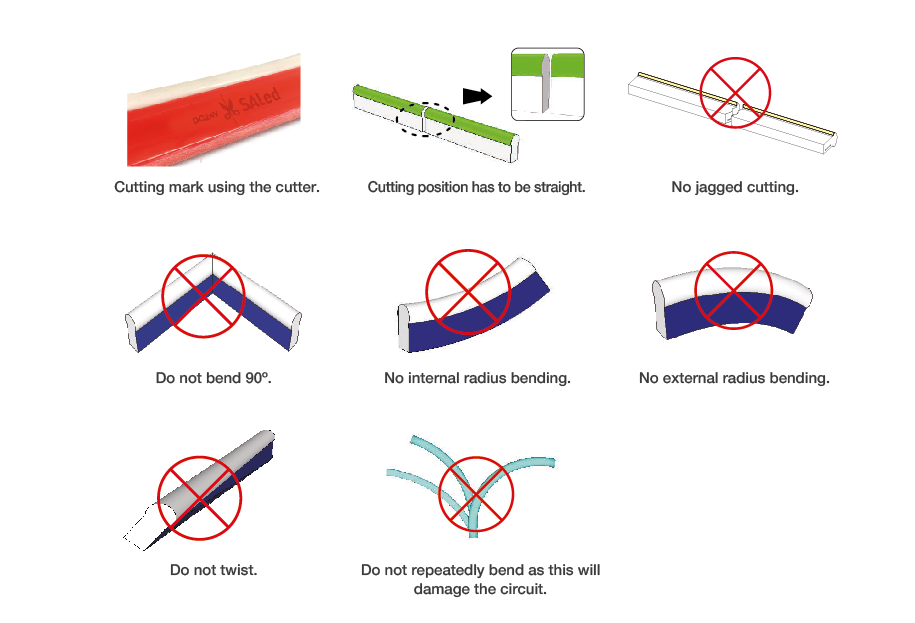
*Note that should be cut and reconnected with end connectors for installation to avoid defects due to moisture penetration. Please follow the steps below
Installation steps
 |
 |
 |
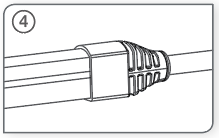 |
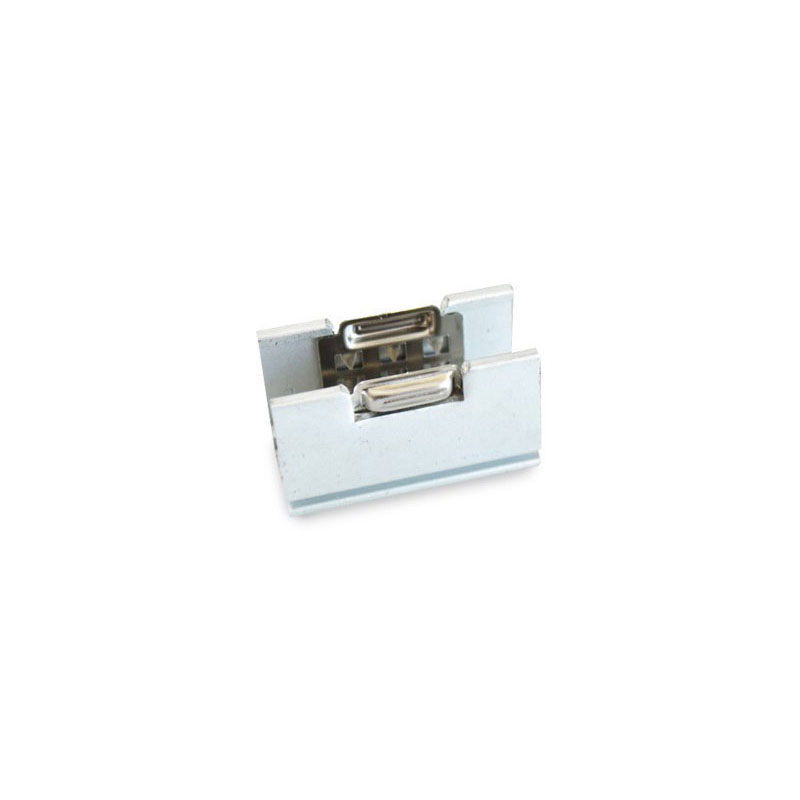
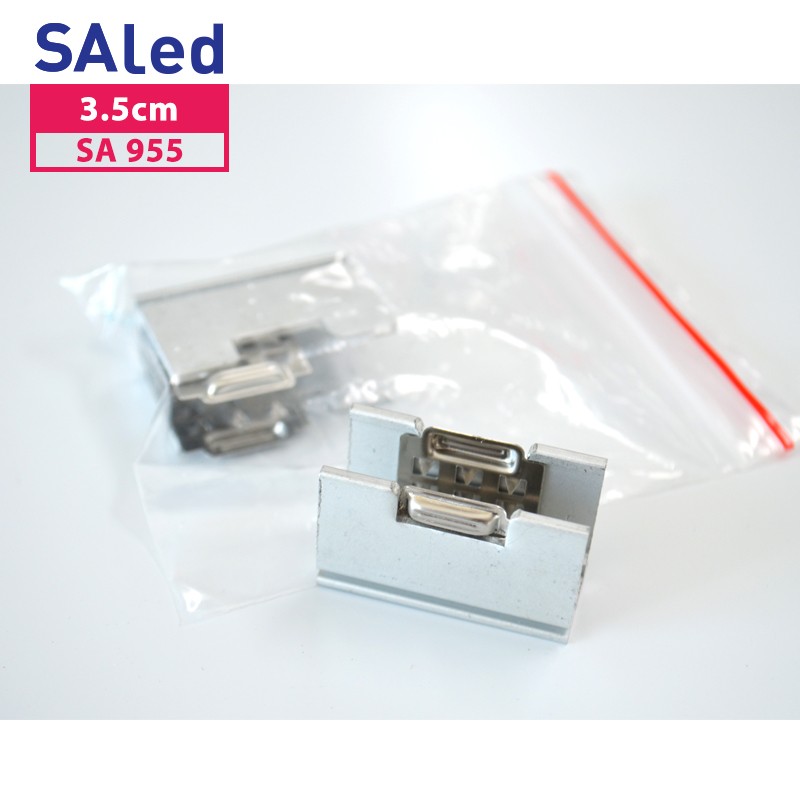
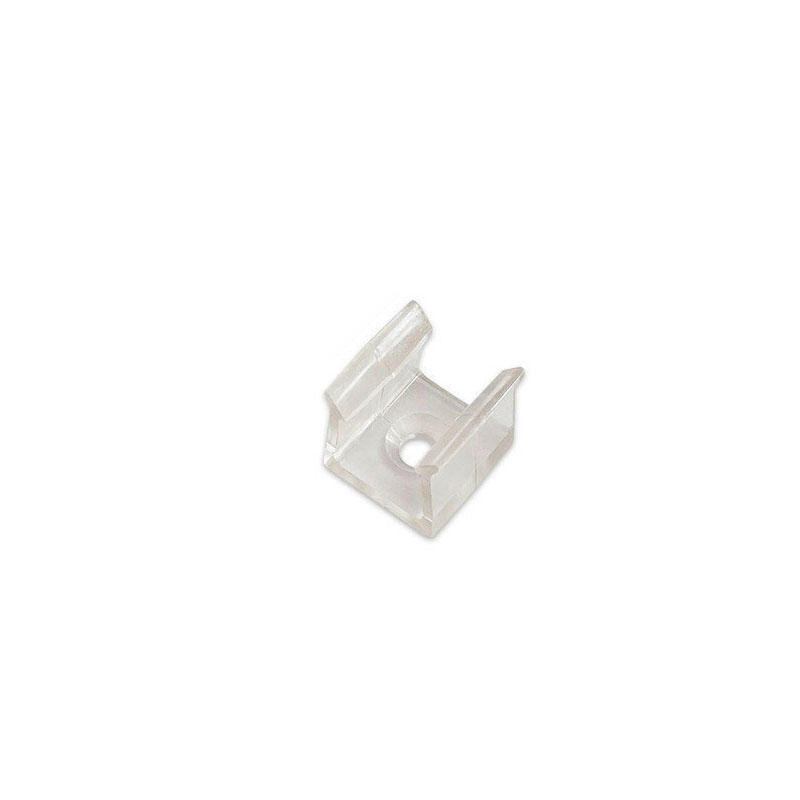
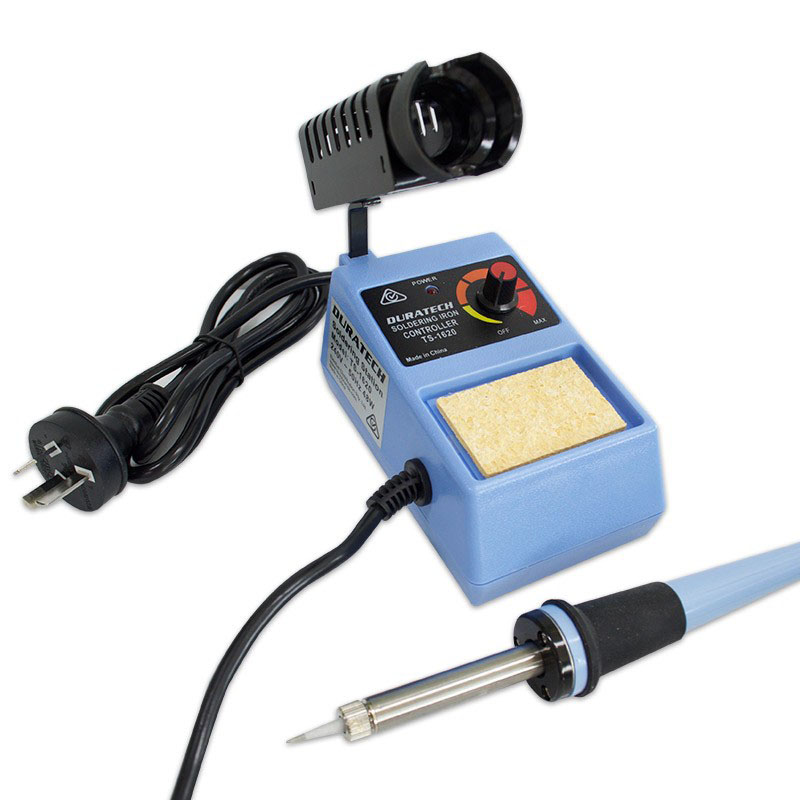
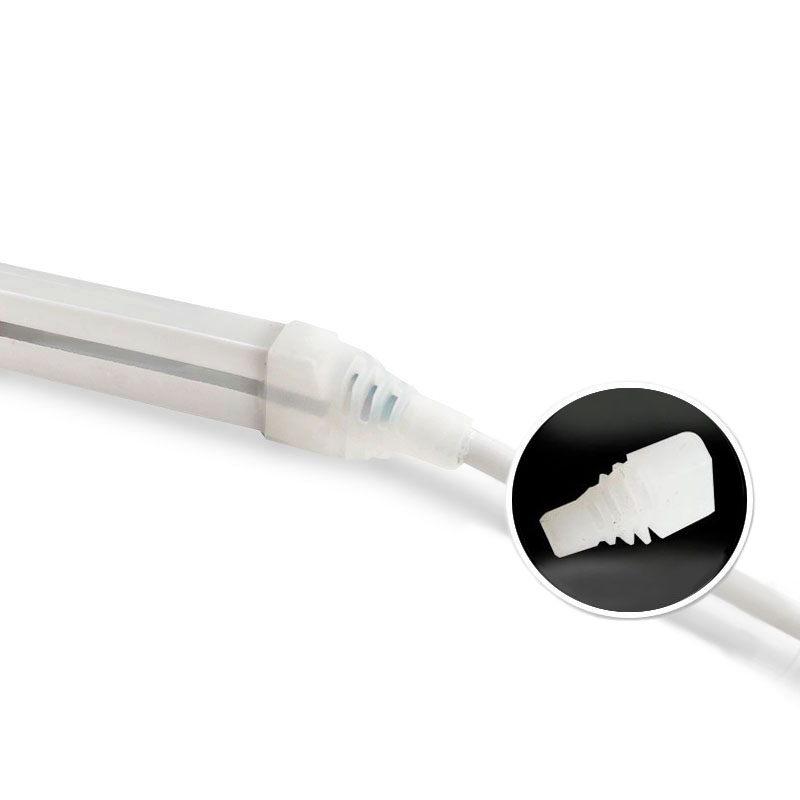
| Cut the neon flex | Weld the wire to the PCB board | First, put silicone glue inside of the plug, and quick connector then push into the neon flex |
Wipe off the excess glue and wait for the glue to solidify. |
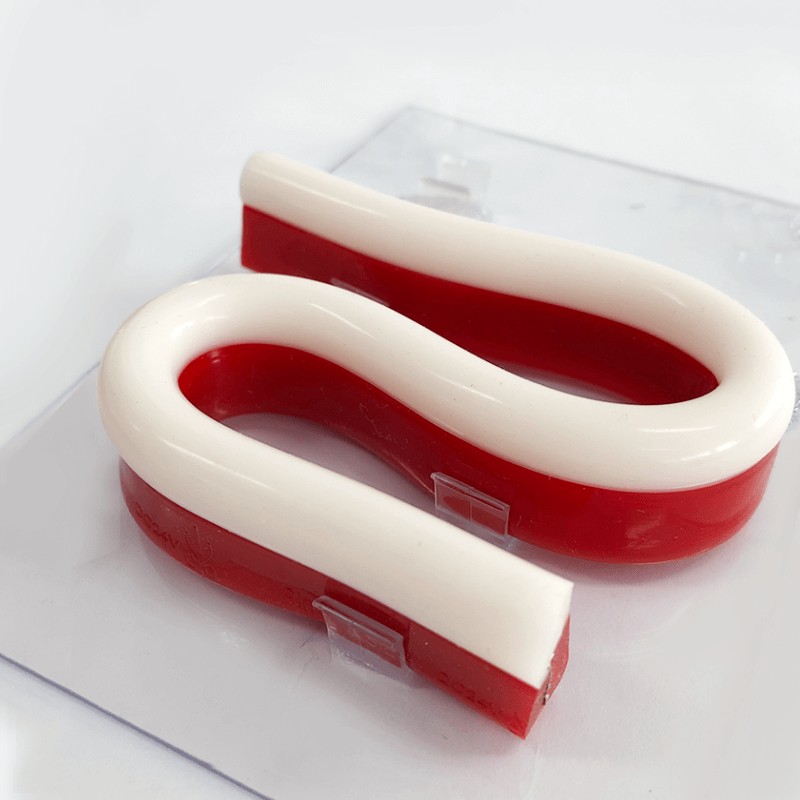
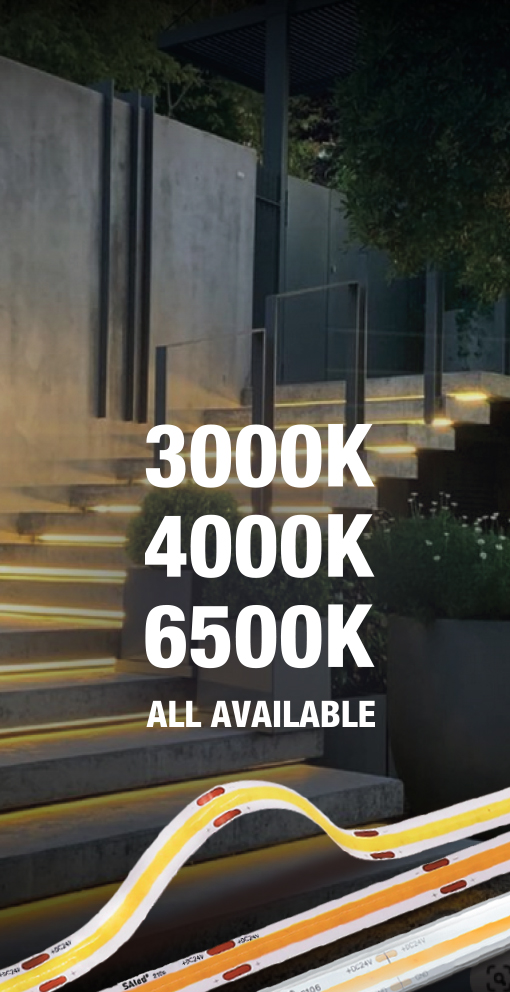
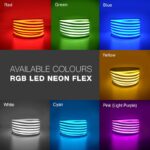
Available Colour

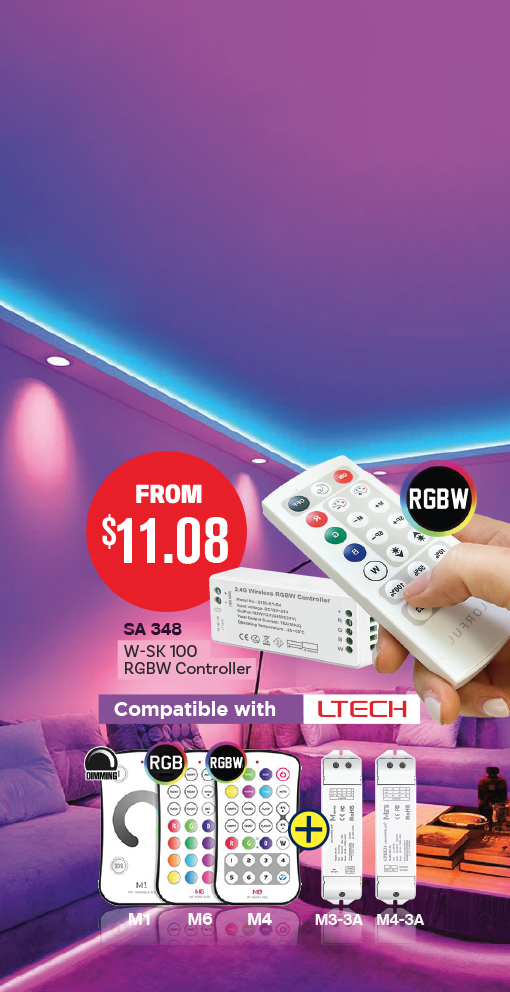
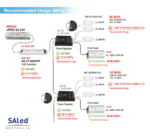
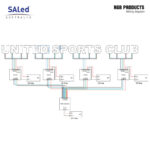
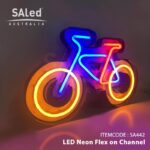
Compatible with RGB Controller
Important Note
|
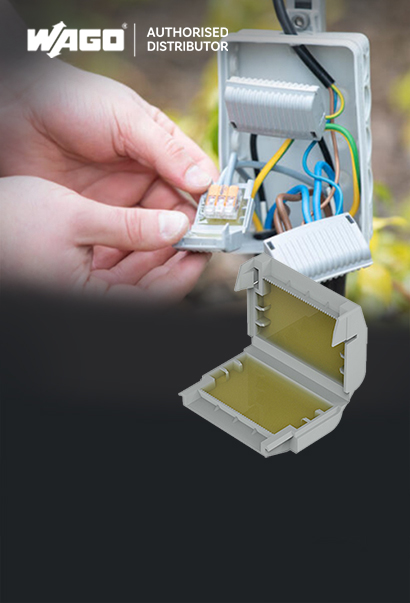
Installation Precautions 1. All installation and connection must be conducted by qualified electrician. 2. A 24V DC class 2 power supply unit must be used with this LED NEON FLEX. 3. Disconnect the mains power before installing or servicing to avoid electrocution. 4. For a wet location installation you must seal all possible water entry points including covers with clear silicone. |
Dimensions(mm)
No account yet?
Create an Account