


Sale

SALE
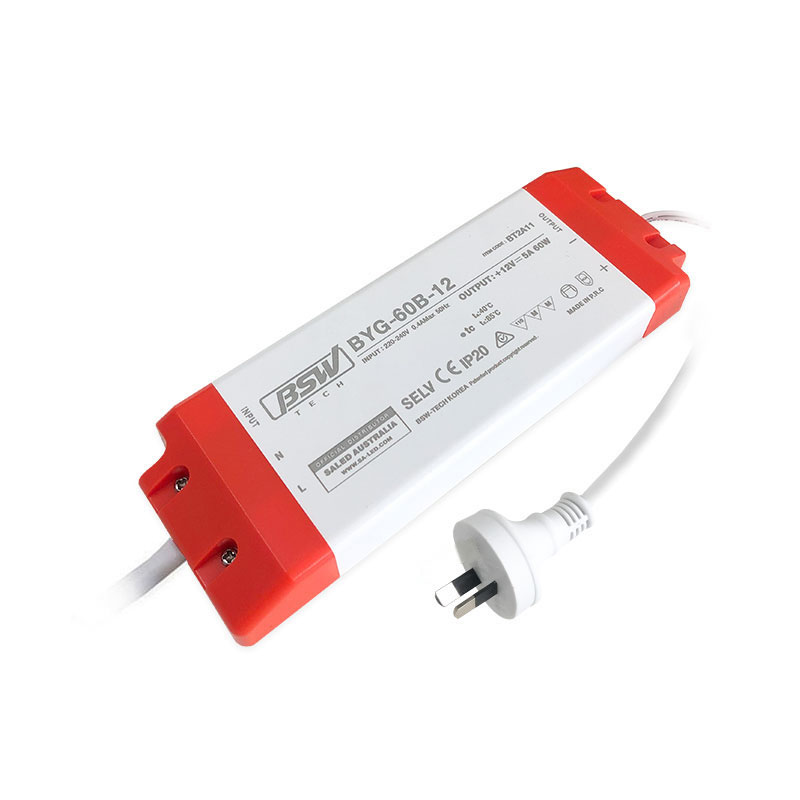
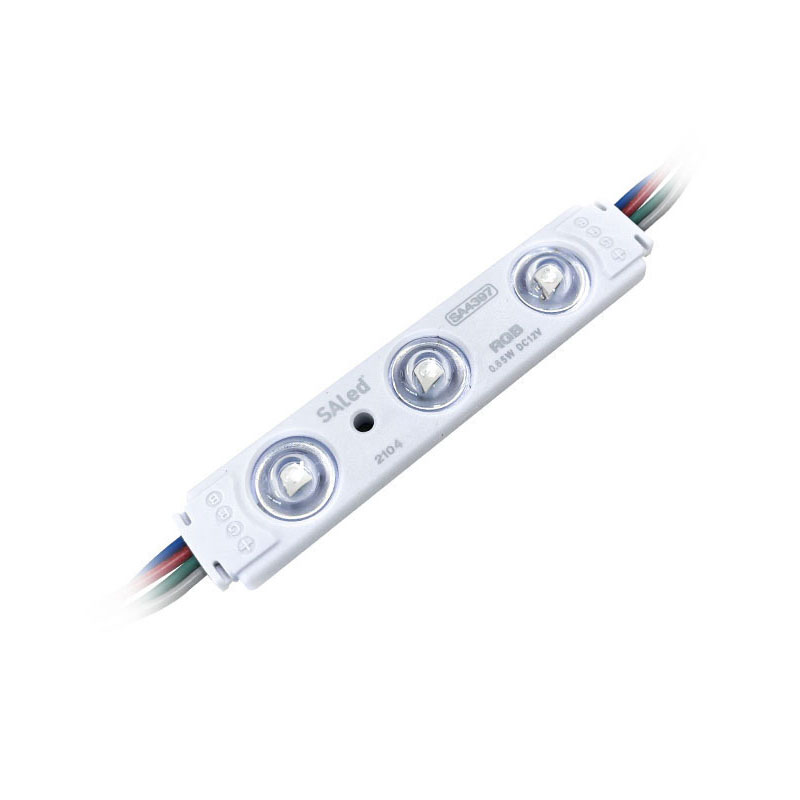
9.12W
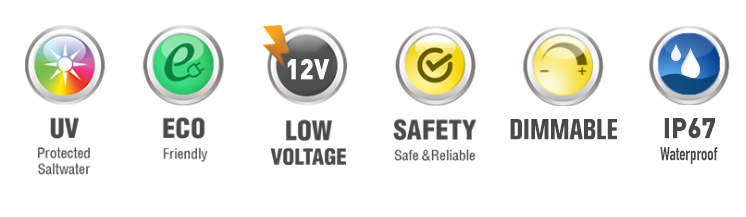
12V


Alternative Products

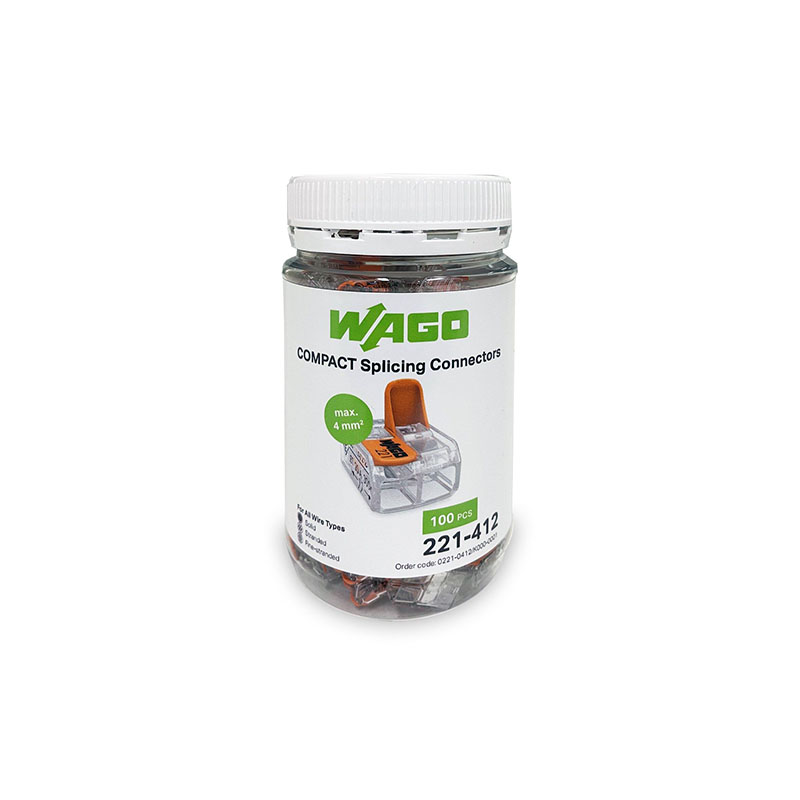
ITEM CODE:
SA 1645K